
 By Muhammad Irfan Liaqat
How to Compress Images Without Losing Quality in 2026
Learn practical techniques to reduce image file size while keeping them sharp. A simple guide for website owners, bloggers, and designers.
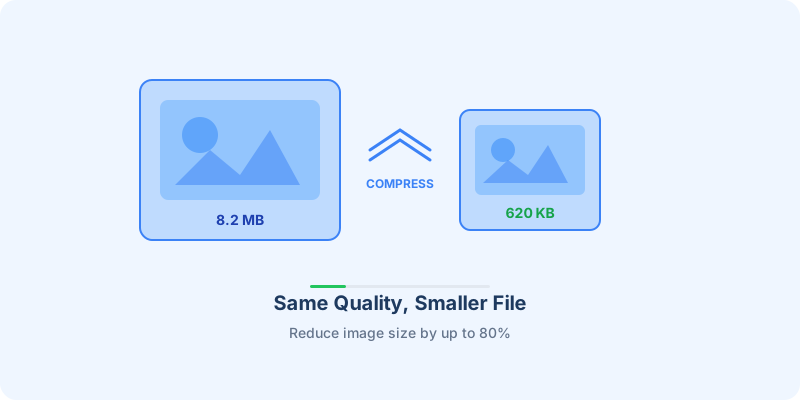
You've just taken a beautiful photo for your blog. It looks perfect — until you realize the file is 8 MB and your website loads like it's on dial-up.
Sound familiar? You're not alone. Large images are the single biggest reason most websites feel slow. The good news is that you can dramatically shrink your images without anyone noticing the difference.
Why Image Size Matters
Every extra megabyte your visitors have to download costs you. Google has been clear about this: page speed is a ranking factor. A study by Google found that as page load time increases from 1 second to 3 seconds, the probability of a visitor bouncing increases by 32%.
But it's not just about SEO. It's about respect for your visitors' time and data. Not everyone has unlimited high-speed internet.
The Difference Between Lossy and Lossless Compression
Before we get into the how-to, it helps to understand the two flavors of compression:
Lossless compression removes hidden data that humans can't see — like metadata, unused color profiles, and redundant pixel information. The image looks identical, just smaller.
Lossy compression goes further. It simplifies areas of the image where your eye won't notice the change. A blue sky doesn't need 47 slightly different shades of blue — 12 will do just fine. At quality settings above 70%, most people can't tell the difference.
Practical Steps to Compress Your Images
1. Start with the right format
Not all image formats are created equal:
JPEG is best for photographs and images with lots of colors
PNG is ideal for graphics with text, logos, or transparency
WebP offers the best of both worlds — smaller files with great quality
If you're not sure which format to use, our Image Format Converter lets you try all three and compare.
2. Resize before compressing
Here's a mistake I see all the time: uploading a 4000×3000 pixel photo when it'll be displayed at 800×600. That's like shipping a grand piano when you only need a keyboard.
Resize first, compress second. Use our Image Resizer to bring images down to the dimensions you actually need.
3. Compress with the right quality setting
For most web images, a quality setting between 70-85% gives you the sweet spot — significant file size reduction with no visible quality loss.
Try our Image Compressor — drag in your images, adjust the quality slider, and watch the file sizes drop. Most images shrink by 60-80%.
4. Batch process when possible
If you have a gallery of images to optimize, doing them one at a time is painful. Look for tools that support batch processing so you can compress multiple images at once.
A Real-World Example
I recently compressed a set of product photos for a small e-commerce site:
| Metric | Before | After |
|---|---|---|
| Total file size | 34 MB | 6.2 MB |
| Average image size | 3.4 MB | 620 KB |
| Visual quality | Original | Indistinguishable |
| Page load time | 8.2s | 1.9s |
That's an 82% reduction in file size with zero visible difference.
Quick Checklist
Image compression isn't glamorous work, but it might be the single most impactful thing you can do for your website's performance. Give it five minutes today and your visitors (and Google) will thank you.