
 By Muhammad Irfan Liaqat
Create Professional Invoices for Free (No Excel)
Stop wrestling with spreadsheets or paying for invoicing software. Here's how to create clean, professional invoices in your browser — free, private, and fast.
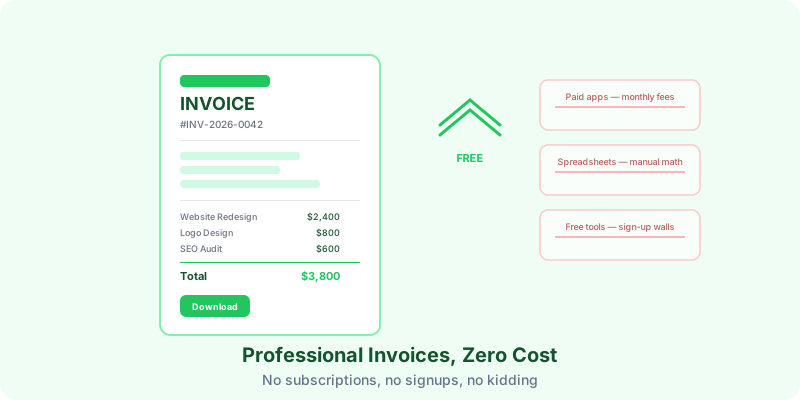
A lot of first invoices go out as a Word document: columns that don't line up, a total worked out on a phone and typed in by hand, maybe a forgotten "YOUR LOGO HERE" in the header.
The usual next steps are Excel templates, Google Sheets, paid tools like FreshBooks, QuickBooks or Zoho Invoice, and "free invoice generators" that turn out to be free to start and paid to actually download.
This guide covers what each option is like, what a professional invoice needs to include, and how to make one in your browser for free.
Why Invoicing Matters More Than You Think
An invoice isn't just a bill. It's the last impression you leave on a project. Hand someone a sloppy invoice and it undermines every professional thing you did before it.
More practically:
You get paid faster. A clear invoice with an obvious total and payment instructions doesn't sit in someone's inbox while they try to figure out what they owe. Every question a client has to ask before paying adds another round of emails.
You look established. Even if you're a one-person operation working from your kitchen table, a clean invoice with your business name, a sequential invoice number, and itemized line items says "I've done this before."
You have a paper trail. Come tax season, you'll want records. "I think they paid me around $1,200 in March" is not great accounting. An organized set of numbered invoices is.
The Problem with Every Option
Here's what you'll find if you go looking:
Excel / Google Sheets
The classic choice. Download a template, fill in the blanks, export to PDF. It works, technically. But:
- Formatting breaks when you add or remove rows
- Calculating totals with tax is surprisingly error-prone
- Every invoice is a separate file you have to manage
- Templates rarely look as clean as you'd hope
- Trying to get your logo positioned correctly in a spreadsheet is a special kind of suffering
It's easy to end up spending more time fighting cell widths than doing billable work.
Paid invoicing software
FreshBooks, QuickBooks, Zoho Invoice — these are all excellent products. They track time, manage expenses, send automatic reminders, and generate beautiful invoices. If you invoice 20+ clients a month, they're worth the money.
But for a freelancer who sends two or three invoices a month? Paying fifteen to thirty dollars monthly for something you use a few minutes is hard to justify. That's dinner money.
"Free" online generators
Search "free invoice generator" and you'll find dozens. Most follow the same pattern:
- Build your invoice in their web app (nice experience, actually)
- Click "Download PDF"
- Create an account first (email, password, verify...)
- Oh, the free version has a watermark
- Remove watermark for just $9.99/month!
Some are upfront about it. Many only show the paywall once you've done all the work.
A Simpler Option
What most freelancers sending a few invoices a month actually need is a browser-based invoice generator that works immediately, doesn't require an account, and produces a clean PDF.
Our Invoice Generator does exactly that. Fill in the fields, then save the invoice as a PDF from your browser's print dialog. There's no account, no watermark, and no paywall waiting at the end.
Here's the workflow:
Step 1: Your business info
Fill in your business name (or your name, if you freelance under your own name), your address, and your email. This appears at the top of the invoice.
Step 2: Client info
Add the client's name and address. This is who you're billing. Having this on the invoice isn't just professional — it's legally important in many jurisdictions for the invoice to be considered valid.
Step 3: Invoice details
Set the invoice number, issue date, and due date. A few tips:
Invoice numbering: The tool suggests a number, but you can replace it with your own. Pick a system and stick with it. A format like INV-2026-0042 (year + sequential number) works well, and some people use project codes. Whatever you choose, be consistent.
Due dates: "Due upon receipt" sounds nice but is vague. "Due within 30 days" or a specific date like "Due by November 25, 2026" is clearer and more enforceable.
Step 4: Line items
Add each item or service, the quantity (or hours), and the unit price. Choose your currency and, if you charge tax, enter the tax rate. The tool calculates the subtotal, tax, and total for you.
Be specific with descriptions. "Design work" is vague. "Homepage redesign — 3 concept rounds, final implementation" tells the client exactly what they're paying for. This reduces questions and disputes later.
Step 5: Notes and payment details
The notes section is where you put your payment instructions. Bank details, PayPal address, or whatever payment methods you accept. Make this impossible to miss — the easier you make it to pay you, the faster it happens.
Step 6: Save as PDF
Click Print / Save as PDF. The invoice opens in a print-ready window. In the print dialog, choose "Save as PDF" (or "Microsoft Print to PDF" on some Windows setups) as the printer, and you get a clean PDF that looks like it came from proper invoicing software.
What Makes a Good Invoice
Whether you use our tool or something else, every professional invoice should include:
Your information. Business name, address, email, and optionally your phone number and website.
Client information. Company name and billing address at minimum.
Invoice number. Unique and sequential. This is how both you and the client refer to it later.
Date and due date. When the invoice was issued and when payment is expected.
Itemized line items. Each service or product with a description, quantity, rate, and line total. Lump sums feel opaque. Itemization builds trust.
Subtotal, tax (if applicable), and total. The total should be the most prominent number on the page. Don't make clients search for it.
Payment terms and instructions. How to pay you, when, and any late fee policy.
Habits That Get You Paid
Number your invoices from the start. When a client says "we're processing invoice 4," you need to know which one they mean. Give every invoice a sequential number the moment you create it.
Send invoices immediately. Not "I'll send it tomorrow." Not "I'll batch them at the end of the month." The day the project wraps or the milestone hits, send the invoice. Delays in sending mean delays in receiving.
Follow up at two weeks. If a 30-day invoice hasn't been paid by day 14, send a polite reminder. Just a brief "Hi, following up on Invoice #42 — let me know if you have any questions." Most of the time it's simply sitting in someone's to-do pile.
Keep copies of everything. Save a PDF copy of every invoice you send. A simple folder structure like Invoices/2026/ClientName/ is enough. Come tax time, your accountant will love you.
Make your business name stand out. A logo makes an invoice look more established. Our generator doesn't add image logos, but a clear, consistent business name in the From field does much of the same job.
Handling Multiple Documents
Sometimes an invoice needs to go out with other paperwork — a contract, a project summary, a receipt for expenses. If you need to combine multiple PDFs into a single document, our Merge PDF tool handles that quickly. Combine the invoice with whatever supporting documents the client needs, and send one clean file instead of five attachments.
A Quick Word About Taxes
This isn't tax advice, but a few practical points apply almost everywhere:
If you're a freelancer or small business, you may need to charge sales tax or VAT depending on your location and the type of service. Research what applies to you — getting this wrong can be expensive.
Some invoicing tools calculate tax automatically; ours adds a tax line when you enter a rate. If yours doesn't, add a line item for tax so it's transparent on the invoice.
Keep your invoices organized by year. When tax season arrives, you'll need to report your income, and having a clear record of every invoice you sent makes that straightforward.
The Minimum Viable Invoice
If you remember nothing else from this article, remember this: a professional invoice needs these six things.
- Who you are (your business name and contact info)
- Who you're billing (client name and address)
- What it's for (itemized list of services)
- How much (clear total, prominently displayed)
- When to pay (a specific due date)
- How to pay (bank details, PayPal, etc.)
Everything else — logos, colors, fancy layouts — is nice to have. Those six things are non-negotiable.
Quick Invoicing Checklist
- ☐Use sequential invoice numbers (INV-2026-001, INV-2026-002...)
- ☐Include your full business details and the client's
- ☐Itemize every line item with descriptions
- ☐Set a specific due date (not "upon receipt")
- ☐Include clear payment instructions
- ☐Add applicable taxes as a separate line
- ☐Save a PDF copy of every invoice you send
- ☐Follow up on unpaid invoices after two weeks
Invoicing doesn't have to be painful. You don't need expensive software, and you definitely don't need to fight with Excel. A clean tool, five minutes, and a professional PDF. That's all there is to it.